Australia

Home › Hydronic floor heating › Renovations

Hydronic floor heating in renovations

Add floor heating to the home you have

Why add floor heating in a renovation?

A renovation is a good time to add hydronic floor heating, especially when floors are being replaced anyway.

You get even warmth across the floor, quiet operation with no fans, and no vents, radiators or wall heaters. That suits rooms with high or raked ceilings, too.

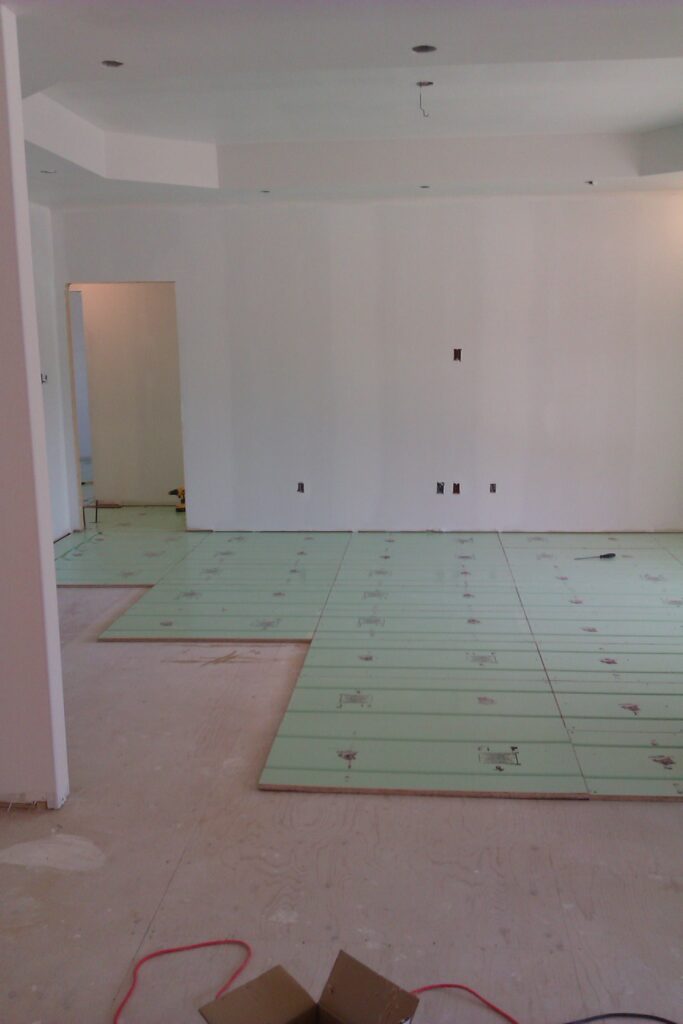
Warmboard panels being laid in a room during installation

Warmboard-R: made for renovations

Over the existing floor

Warmboard-R is laid over an existing floor on 1.7 mm radiant reflective foil, so the old floor doesn’t need to come up.

A thinner panel

Each panel is 20.6 mm, 610 × 1220 mm OSB with a 0.64 mm aluminium face, in Straight and Turn types that set the pipe route.

Same heat spreading

Like Warmboard-S, the aluminium face spreads heat across the floor, so the system responds quickly.

Warmboard-S in renovations

Where floors are being rebuilt over joists, or over a slab, Warmboard-S can also suit a renovation. We’ll suggest the right panel for your project.

How a Warmboard-R renovation goes

  1. Design
    Send your plans and tell us about the existing floor. Warmboard’s design team draws the panel layout and pipe loop plan. Submit your plans.
  2. Check floor heights
    Allow for the added height of the foil, panels and floor covering at doorways, stairs, kitchens and built-in joinery.
  3. Prepare the floor
    The existing floor needs to be sound, flat and clean before the foil and panels go down.
  4. Lay the foil and panels
    The panels go down from the layout. Over an existing floor, your builder or you can lay them.
  5. Pipe and floor coverings
    Your licensed plumber lays the pipe, connects the manifold and pressure-tests the system. Then the floor covering goes on.

Ready to plan your floor?

Send us your plans. Warmboard’s design team will draw your panel layout and pipe loop plan, and we’ll prepare your quote.