
Home › Hydronic floor heating › New builds
Hydronic floor heating in new builds
Plan it in from the start
A new build is the easiest time to add hydronic floor heating. The floor, the manifolds and the heat source can be planned together, and there are no existing floors to work around.
With no ducts, vents or radiators, your architect has more freedom with ceilings, windows and furniture placement.
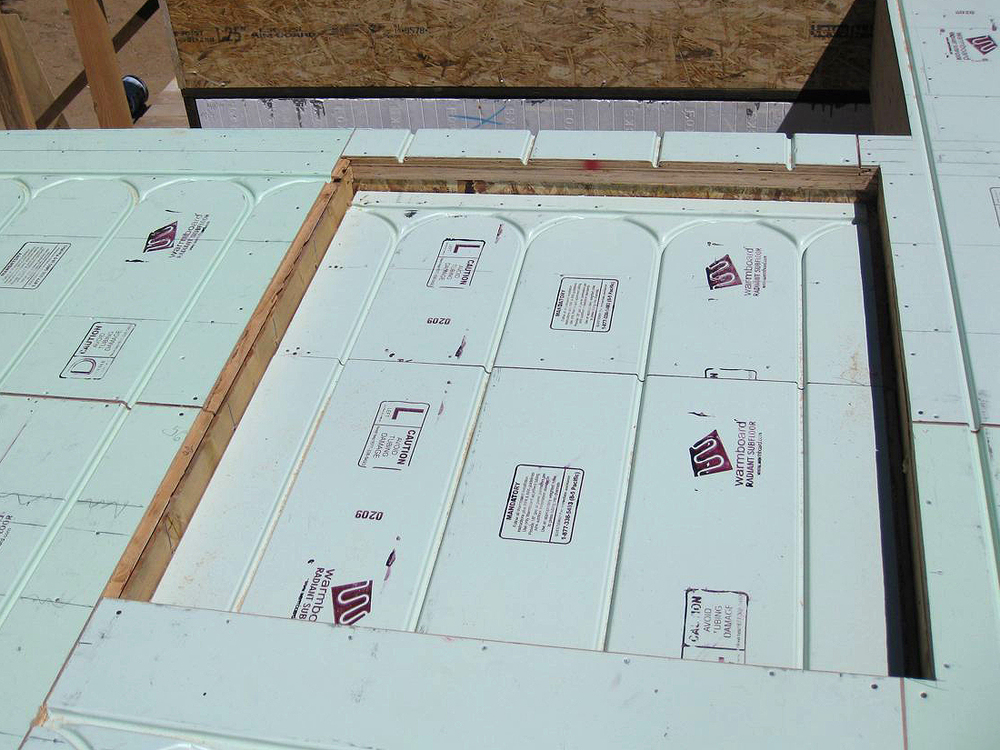
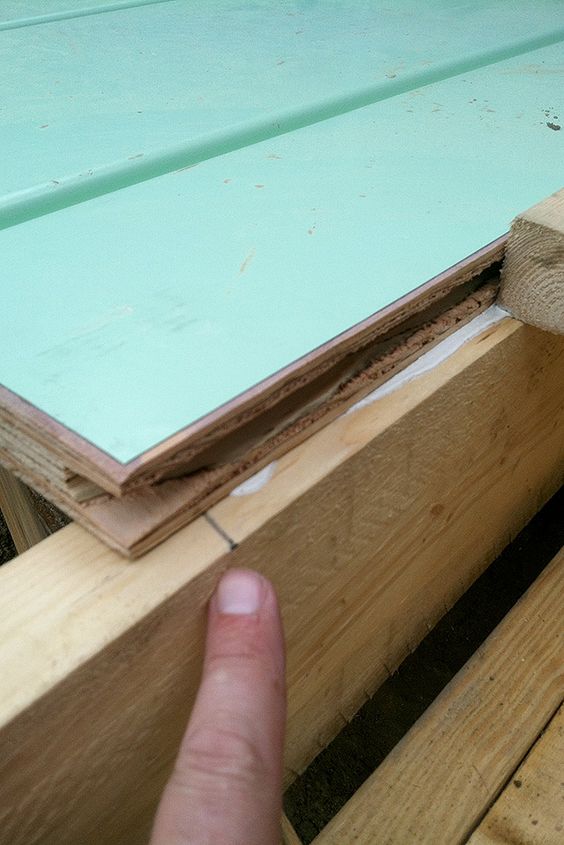
Warmboard-S: subfloor and heating in one
Warmboard-S is a structural panel: 28.6 mm, 1220 × 2440 mm, 7-ply plywood with a 0.64 mm aluminium face. Over joists it takes the place of the flooring sheet, so the subfloor and the heating go down together. It can also go over a concrete slab.
Joists need to be at 406.6 mm centres so the panel ends meet over a joist. Standard 450 mm framing doesn’t suit Warmboard-S, so tell your designer and builder early. The Australian certification (drawing 388-16) covers joist spacing up to 410 mm.
How Warmboard-S goes into a new build
- Design
Send your plans early, before the floor framing is set out. Warmboard’s design team draws the panel layout and pipe loop plan. Submit your plans. - Framing
Your builder sets the joists at 406.6 mm centres, to your structural engineer’s details. Plan plumbing and electrical runs so they don’t cross the pipe channels. - Laying the panels
Your licensed builder lays Warmboard-S over the joists from the panel layout, fixed to the engineer’s details. - Laying the pipe
Your licensed plumber rolls the pipe into the channels, connects each loop to the manifold and pressure-tests the system. - Floor coverings
The floor covering goes over the top, laid to its maker’s instructions for heated floors.
More in this guide
Ready to plan your floor?
Send us your plans. Warmboard’s design team will draw your panel layout and pipe loop plan, and we’ll prepare your quote.